 You have already used one drive or google drive or other cloud server like dropbox. But you can make a computer as your own cloud server. The open source project owncloud gives you opportunity to do this. The client side software is also available in their site.
Advantage and challenges over other cloud storage:
- The cloud service provide you limited space. But here you can get extra cloud space adding more hard drive
- Most of the service are not free. For your business private cloud server is cost efficient over any paid service.
- While you are connected on LAN your cloud server is accessed with LAN speed. Dependency of internet is not needed. I have installed owncloud with local IP and 100+ corporate user is using this cloud service. File synchronizing is very fast here.
- You can create unlimited user here.
- But you have to setup, manage a owncloud server, take care network. You have to face server management challenge.
Today I will write tutorial to setup and configure owncloud server on a RHEL 6.x / CentOS 6.x operating system computer.
I am working on CentOS 6.6
The owncloud use php and MySQL. So we have to configure this first.
The Server is setup local IP 192.168.0.9 with host name of cloud.mahbub24.com
Preparation:
first of all we should update the Operating System
# yum update
just add the line on /etc/hosts file.
192.168.0.9 cloud.mahbub24.com
And reboot the server.
Step-1: Install PHP, MySql
yum install php54w mysql php54w-mysql mysql-server php-json php-xml php-mbstring php-zip php-gd curl php-curl php-pdo
Step-2: Create Database and User
Now we have to configure mysql database and create database and user. If you previously worked with LAMP server, it would be easier. Just same job what we do on webserver configuration.
[root@localhost ~]# mysql -u root -p

Enter password: (Press Enter)

Welcome to the MySQL monitor. Commands end with ; or \g.

Your MySQL connection id is 2

Server version: 5.1.73 Source distribution
Copyright (c) 2000, 2013, Oracle and/or its affiliates. All rights reserved.
Oracle is a registered trademark of Oracle Corporation and/or its
affiliates. Other names may be trademarks of their respective
owners.
Type ‘help;’ or ‘\h’ for help. Type ‘\c’ to clear the current input statement.
mysql> CREATE DATABASE mahbub24;
Query OK, 1 row affected (0.01 sec)
mysql> GRANT ALL on mahbub24.* TO mahbub24user@localhost IDENTIFIED BY ‘pass’;
Query OK, 0 rows affected (0.00 sec)
mysql> flush privileges;
Query OK, 0 rows affected (0.00 sec)
mysql> exit
We have just create database mahbub24
User mahbub24user
Password pass
The user and password will be used on owncloud script.
Step-3: Start Services
# service httpd start
#chkconfig httpd on
# service mysqld start
# service mysqld on
Step-4: Download owncloud Package form owncloud site
Now we will install owncloud script. Download and Unzip this on /var/www/html
You can do this in your way.
[root@localhost ~]# cd /var/www/html

[root@localhost html]# wget https://download.owncloud.org/community/owncloud-8.2.2.zip

[root@localhost html]# unzip owncloud-8.2.2.zip
After unzip we try to browse the owncloud.
The owncloud 8 version need PHP 5.4 so we should install it.
Step-5
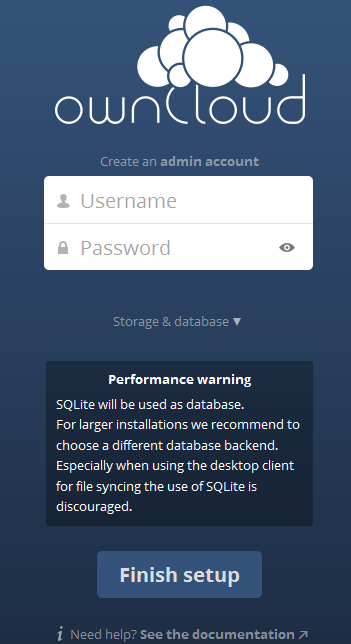
Now owncloud has been installed. Browse 192.168.0.9/owncloud you should see.

